

Blog
Cut Fabric Punjabi Suit Guide for a Perfect Fit

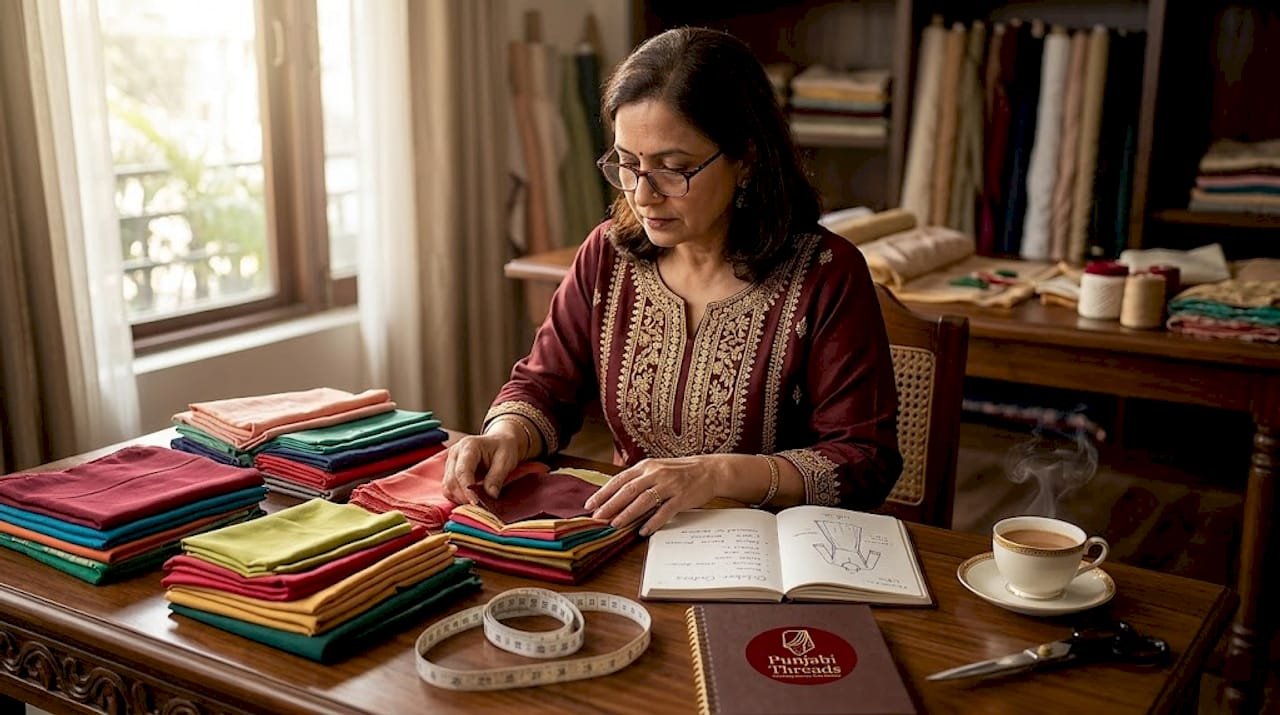
Getting a Punjabi suit to fit exactly right is harder than it looks. Most people who attempt it at home either cut too tight, choose the wrong fabric for the occasion, or skip seam allowances entirely and end up with a garment that pulls at the shoulders or bunches at the hips. This cut fabric punjabi suit guide walks you through every stage, from picking the right material to making the final cuts with confidence. Whether you are stitching for a wedding, a festival, or everyday wear, the details covered here will help you create something that actually fits your body.
Table of Contents
- Key takeaways
- What you need before cutting Punjabi suit fabric
- Step-by-step guide to cutting Punjabi suit fabric accurately
- Stitching and styling after you cut
- Troubleshooting common fitting issues
- My honest take on making Punjabi suits at home
- Get your Punjabi suit stitched perfectly
- FAQ
Key takeaways
| Point | Details |
|---|---|
| Seam allowance matters | Always add 1 to 1.5 inches to all measurements to avoid fitting issues. |
| Pre-wash your fabric | Washing and ironing before cutting prevents shrinkage that ruins finished garments. |
| Match fabric to occasion | Use cotton for daily wear and silk or georgette for festive events. |
| Fold and mark precisely | Fold fabric lengthwise and use tailor’s chalk to get accurate, clean cutting lines. |
| Body shape beats trends | Fit cuts to your actual measurements and body type, not to what is fashionable. |
What you need before cutting Punjabi suit fabric
Before any scissors touch your fabric, you need the right tools, the right material, and accurate measurements. Skipping this stage is the single biggest reason home-stitched suits end up unwearable.
Must-have tools
- Measuring tape: Use a flexible cloth tape, not a metal builder’s tape. Measure twice every time.
- Tailor’s chalk or fabric marker: Marks wash out cleanly and give you precise cutting lines.
- Sharp fabric scissors: Dull scissors fray edges. Keep a dedicated pair just for fabric.
- Straight pins: Hold folded layers in place while you mark and cut.
- Iron and ironing board: You will use these before cutting and throughout stitching.
- Seam ripper: Mistakes happen. Have one nearby.
Choosing the right fabric
Punjabi suit fabric types vary widely, and the right choice depends on the season, the occasion, and how the garment will be worn. Cotton is ideal for daily wear because it breathes, washes easily, and holds its shape. Silk and georgette are reserved for festive occasions because of their drape and sheen, though both require more careful handling during cutting.
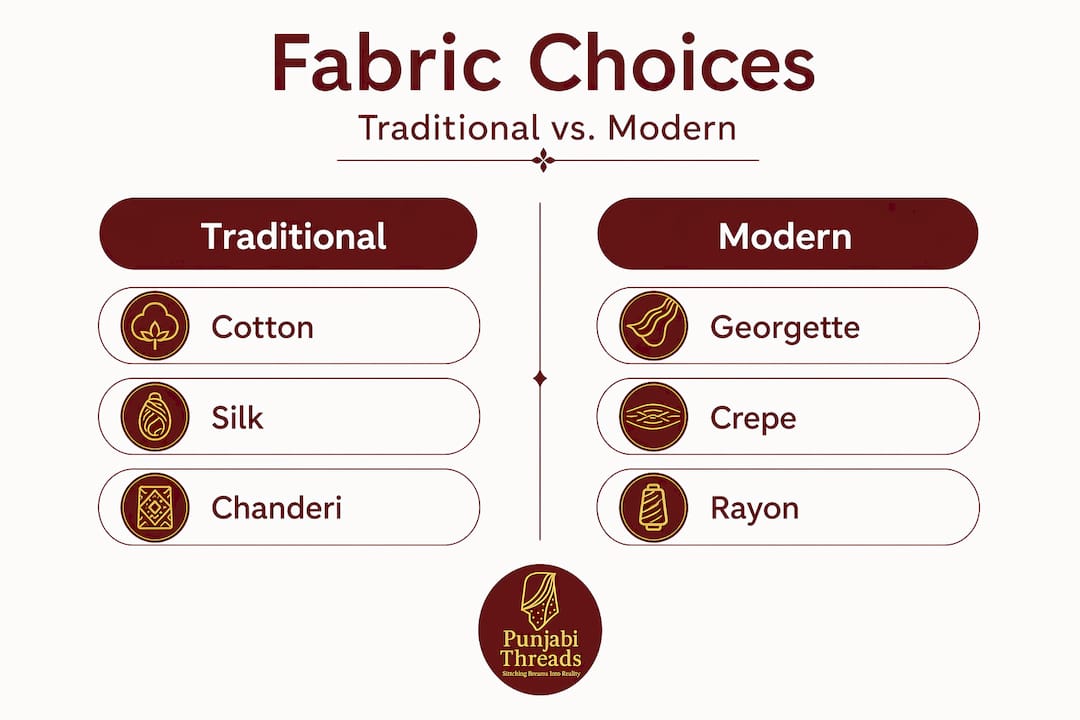
Understanding traditional fabric choices also matters beyond aesthetics. Certain weaves and weights carry cultural significance, and choosing authentically contributes to both the look and the feel of the finished suit.
| Fabric | Best for | Pros | Cons |
|---|---|---|---|
| Cotton | Daily wear | Breathable, durable, easy to sew | Less glamorous for events |
| Georgette | Weddings, festivals | Elegant drape, lightweight | Slippery, harder to cut straight |
| Silk | Festive occasions | Rich appearance, smooth finish | Expensive, frays easily |
| Lawn | Summer daily wear | Very lightweight, soft | Can appear too casual |
| Chanderi | Semi-formal events | Delicate texture, subtle sheen | Requires careful pressing |
Pro Tip: When calculating how much fabric to buy, add a 15% extra allowance on top of your measurements to account for shrinkage and any pattern matching you need to do.
Taking accurate measurements
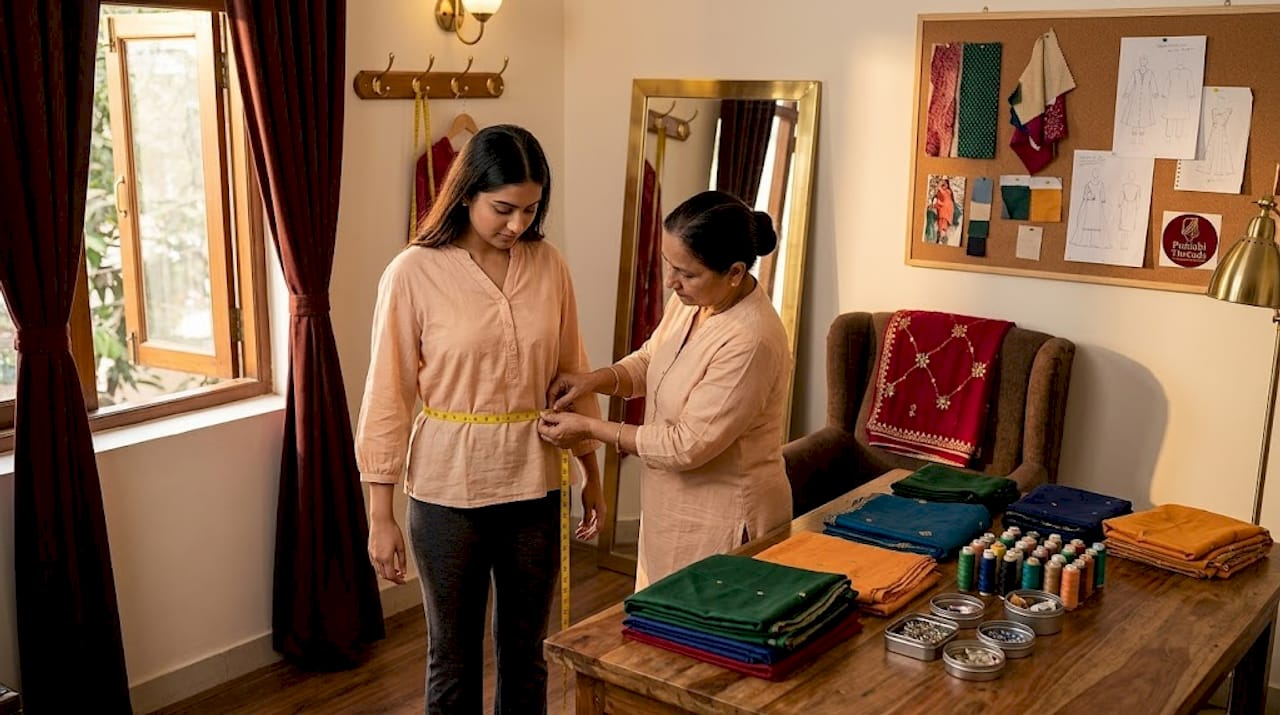
Measure your bust, waist, hips, shoulder width, sleeve length, and total body length from shoulder to knee or ankle depending on the kameez style you want. Write everything down. For the salwar, measure your waist, hips, inseam, and total length. Do not measure too snugly. Leave enough room for natural movement, especially around the hips and thighs.
Step-by-step guide to cutting Punjabi suit fabric accurately
This is where most DIY attempts go wrong. Rushing through the cutting stage leads to asymmetry, wasted fabric, and fits that no amount of stitching can rescue.
-
Pre-wash and iron your fabric. Washing before cutting prevents post-stitch shrinkage that shortens hems and tightens seams. Iron the fabric completely flat before you lay it out.
-
Lay fabric on a flat, clean surface. A large table works better than the floor. The surface needs to be completely flat so your measurements stay consistent across the full length.
-
Fold the fabric lengthwise. Fold fabric in half lengthwise so that both cut edges align. This lets you cut both front and back pieces simultaneously, which keeps them symmetrical.
-
Mark the kameez (top) pattern first. Using your measurements and tailor’s chalk, mark the shoulder width, chest width, waist, and length. Add your seam allowance of 1 to 1.5 inches to every seam line. Mark the neckline, armhole curves, and side seams clearly before touching your scissors.
-
Cut the kameez pieces. Cut along your chalk lines with long, smooth strokes. Never use short choppy cuts, especially on curves. Curves like armholes need slow, careful cutting to stay smooth.
-
Mark and cut the sleeves. Fold remaining fabric and mark sleeve length, cuff width, and sleeve head curve. The sleeve head (the curved top that attaches to the armhole) must match the armhole curve you already cut, so measure both again before cutting.
-
Cut the salwar pieces. The salwar typically requires two wide leg panels and a waistband piece. Mark the full hip width plus seam allowance, the inseam length, and the taper from hip to ankle if you want a fitted cut.
-
Cut the dupatta. Most dupattas are rectangular. Measure the desired width and length, mark clearly, and cut straight. Fringing the edges afterward is optional.
Pro Tip: Never cut both layers of fabric at once if one layer is slippery (like georgette or silk). Pin them together densely first, or cut one layer at a time to avoid shifting.
Common mistakes to avoid: skipping seam allowances, cutting armhole curves too fast, failing to check that both fabric layers are aligned before cutting, and not labeling cut pieces immediately. Once pieces are cut and unlabeled, confusion is almost inevitable.
Stitching and styling after you cut
Cutting gets the shape right. Stitching makes it wearable. And styling choices determine whether it flatters you or just fits.
Basic stitching sequence
- Start with the shoulder seams, joining front and back kameez pieces at the shoulders.
- Attach the sleeves by matching the sleeve head to the armhole. Baste (temporary stitch) first to check the fit before committing to the final seam.
- Stitch the side seams from the underarm down to the hem. Leave side slits (called “chaak”) open at the hem if the design calls for it.
- For the salwar, stitch the inseam of each leg panel first, then join the two legs at the crotch seam. Finish with the waistband and elastic or drawstring.
Thread and finish quality
Use matching or complementary thread colors throughout. Mismatched thread makes seams visible from the outside and gives the garment a patchy, unfinished look. For georgette and silk, use a finer thread weight to avoid puckering.
Finish all raw edges with a zigzag stitch or an overlocker if you have one. Raw edges fray with washing and shorten the life of the garment significantly.
Styling for your body type
A-line cuts suit slender frames while straight cuts work better for petite figures. If you are stitching for a fuller figure, build ease into the side seams and avoid very fitted sleeves. For tall frames, a floor-length kameez with wide-leg salwar creates beautiful proportion.
Pro Tip: Always do a fitting in the basted (temporary) state before finishing seams. Adjust at that stage rather than unpicking finished seams later, which weakens the fabric.
Troubleshooting common fitting issues
Even careful cutting leads to fitting surprises. The most common problems are all fixable, provided you catch them early.
- Tight sleeves: This almost always happens when you measure the arm circumference without accounting for movement. Leave extra room in sleeve measurements so you can lift your arms comfortably. The fix is to open the underarm seam and add a small gusset or let out the seam allowance.
- Gaping neckline: Usually caused by cutting the neckline curve too wide. A facing or neckband can tighten the opening without restarting from scratch.
- Pulling at the hips: Let out the side seams from waist to hip. Even half an inch on each side can transform the comfort.
- Uneven hem: Re-measure the hem from the floor up while wearing the suit. Mark the new hem with pins, then press and stitch level.
Ease allowance for movement is not optional in traditional wear. Punjabi suits are worn for long stretches during weddings and festivals. A garment that fits perfectly standing still but binds during movement will be uncomfortable within an hour.
“Professional alterations can transform an outfit’s silhouette dramatically. Even a well-cut suit benefits from expert adjustments after the first fitting.” — Common Fitting Issues in Punjabi Suits
If the fitting problems feel beyond your current skill level, that is not a failure. It is honest self-assessment. A professional tailor can fix in minutes what might take a beginner hours and still not be right. For anyone in Melbourne, custom stitching services can handle both alterations and complete custom builds.
My honest take on making Punjabi suits at home
I have seen hundreds of suits come through the workroom. The ones that fit beautifully are never the result of luck. They share a common thread (no pun intended): the maker trusted measurements over trends.
The advice I give most often is this. Stop copying the silhouette from the latest fashion video and start from what your own body actually needs. An A-line kameez that falls properly on your frame will always look better than a trendy fitted cut that pulls across the back. Prioritizing fabric and cut suited to your body beats following fashion every single time.
I also think the DIY process deserves more credit than it gets. Yes, it takes patience. Yes, you will probably need to re-do a seam or two. But there is something genuinely satisfying about wearing a suit that you made yourself, in fabric you chose, cut to your actual shape. That is not something a ready-made garment can replicate. If you want to explore both worlds before committing, comparing custom and ready-made options is a useful starting point.
Start with a simple straight-cut kameez and plain salwar before attempting anything more structured. Get one suit right, and the next one becomes far easier.
— Punjabi
Get your Punjabi suit stitched perfectly
If you have worked through this guide and want professional results without the trial and error, Punjabithreads is ready to help. Based in Melbourne, the team specializes in fully custom Punjabi and Pakistani suit stitching built around your exact measurements and fabric preferences.
Whether you bring your own fabric or choose from their collection, every garment is stitched to your specific body. Browse Punjabi suits in Melbourne to see stitched and unstitched options, or visit the main shop to explore the full range of ethnic wear for weddings, festivals, and everyday occasions. The custom vs ready-made comparison page is also worth reading before you decide.
FAQ
What seam allowance should I add when cutting a Punjabi suit?
Add 1 to 1.5 inches of seam allowance to all cut edges. This gives you room to adjust fit after the first basted fitting without running out of fabric.
What are the best fabrics for a Punjabi suit?
Cotton works best for daily wear because it breathes and holds shape well. Silk and georgette are better choices for weddings and festivals because of their drape and appearance.
How do I prevent shrinkage after cutting and stitching?
Pre-wash and iron your fabric before you cut it. This removes any residual shrinkage so the finished suit holds its shape and measurements after washing.
Why do my sleeves always feel too tight after stitching?
Tight sleeves usually result from measuring the arm circumference too snugly without leaving room for movement. Add ease allowance to sleeve width so you can lift your arms freely.
Is it worth getting a Punjabi suit professionally tailored instead of DIY?
Professional tailoring delivers a more precise fit, especially for complex fabrics like silk or georgette. Custom stitching also allows you to specify your exact measurements, which ready-made suits cannot match.


